
Minecraft • Design Thinking • Creativity
Designing a Community Park in Minecraft Using Human-Centered Design
Instead of simply asking kids to build a cool park, this activity asks them to design for real people with different needs—and then use Minecraft to prototype their ideas.
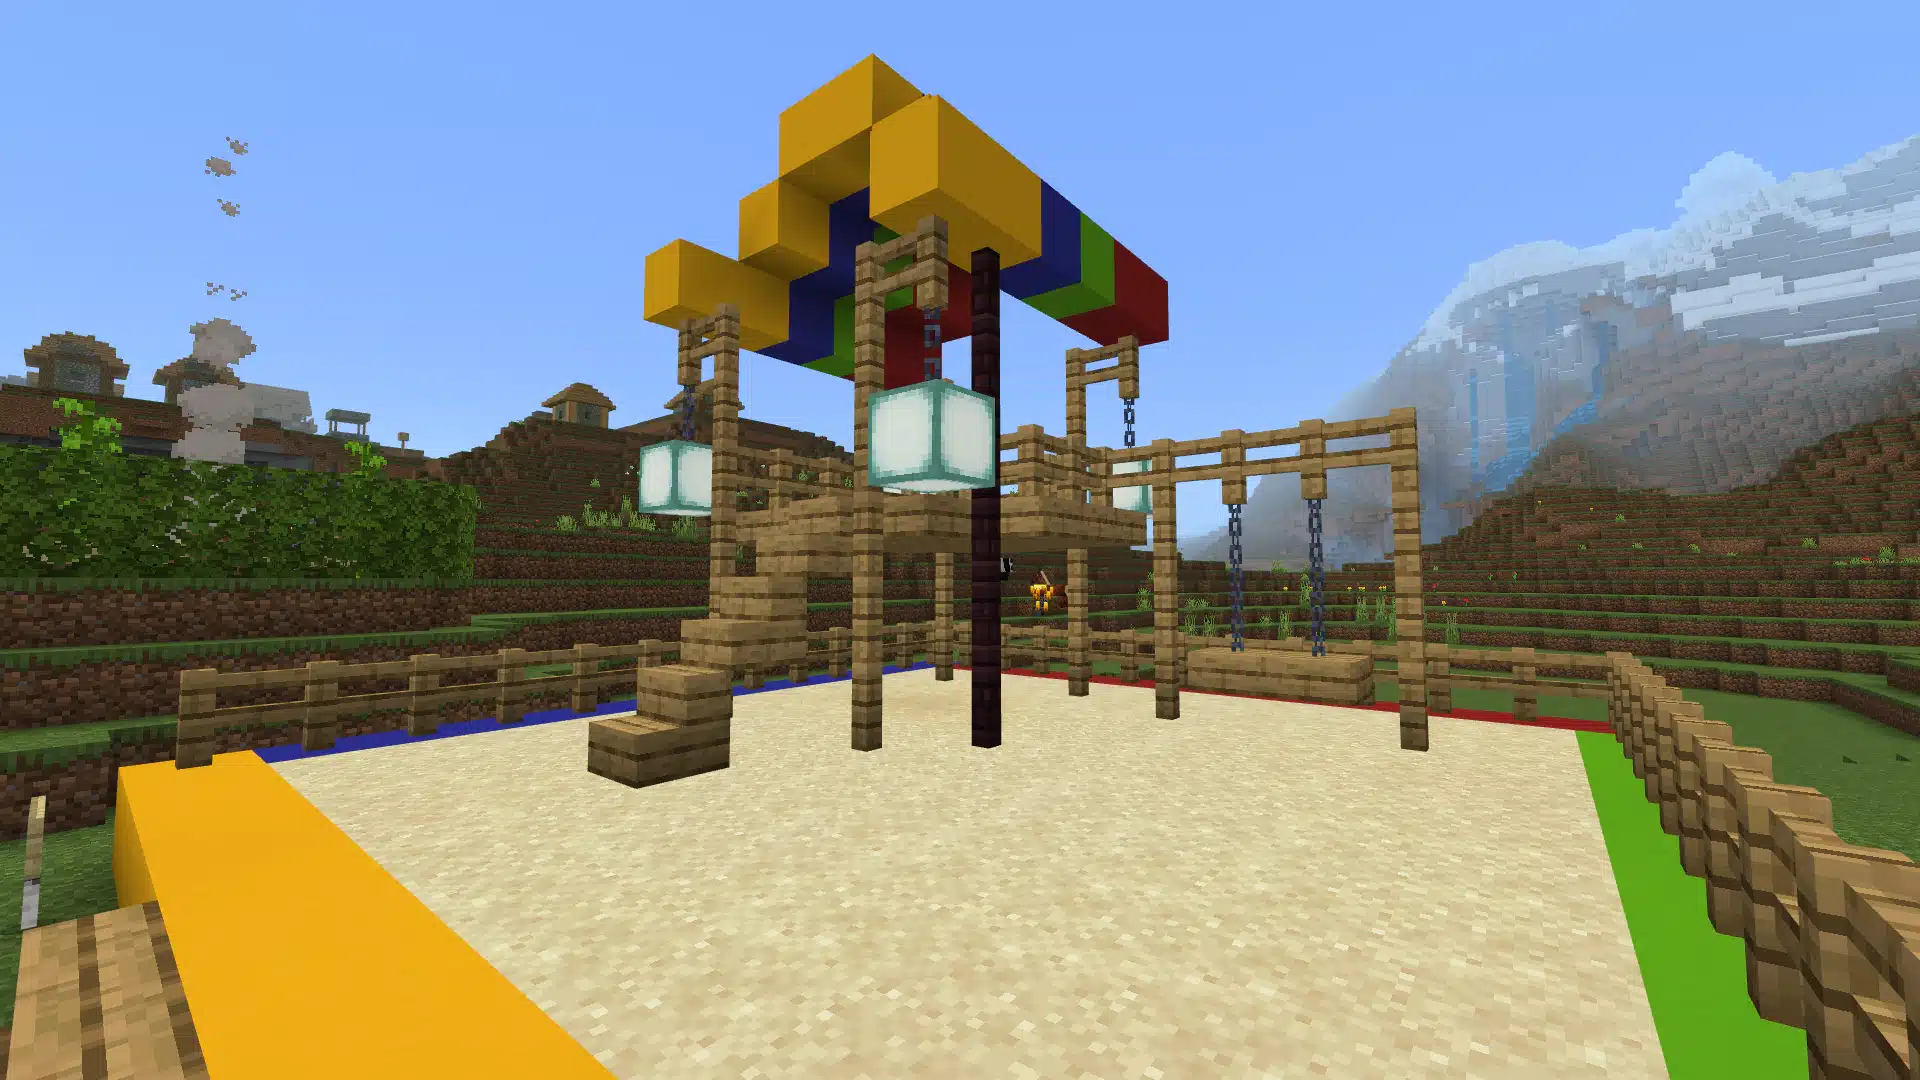
Originally published June 20, 2024
What is human-centered design?
Human-centered design starts by understanding the people who will use a product, service, or space. Instead of beginning with “What do I want to make?” the designer asks “Who is this for, what do they need, and how can I make the experience better for them?”
For children, that shift is powerful. It combines creativity with empathy and gives them a reason to explain the choices they make.
The challenge: design a community park
Ask your child to imagine that a town has hired them to design a new community park in Minecraft. The park should serve different types of visitors rather than only reflecting the designer’s own favorite activities.
Step 1: Identify the users
Create a short list of people who might use the park: young children, teenagers, parents, older adults, athletes, people who want quiet space, someone using a wheelchair, dog owners, or families attending events.
Ask: What would each person hope to do there? What could make the park difficult or unwelcoming for them?
Step 2: Define the needs
Turn the observations into design needs. The park might need open play space, shaded seating, safe pathways, accessible routes, sports areas, quiet areas, gathering spaces, gardens, lighting, or signs that help visitors navigate.
Step 3: Brainstorm many possibilities
Before building, sketch or list several ideas. Encourage variety instead of deciding on the first solution. What if one feature could serve more than one group? Could a central plaza become both a gathering area and an event space? Could paths connect active and quiet areas without creating conflicts?
Step 4: Prototype in Minecraft
Build a first version of the park. Minecraft makes it easy to move sections, compare layouts, and test scale. Remind students that a prototype is supposed to change; it is a tool for learning, not a final answer.
Step 5: Test the design
Have someone else look at the park from the perspective of one of the intended users. Ask them what works, what is confusing, and what they would change. Younger students can simply role-play different visitors.
Step 6: Improve it
Use the feedback to revise the park. This is where the activity becomes more than a building challenge: students learn that a strong idea often becomes better through testing and revision.
Extension idea
Have your child give a short “design presentation” explaining three choices they made specifically because of a user’s needs. This practices communication as well as design thinking.
Skills students practice
The project can develop empathy, creativity, problem solving, spatial planning, communication, iteration, and the ability to explain why a design decision was made.
More Minecraft Challenges
Explore Minecraft Modding Tutoring